
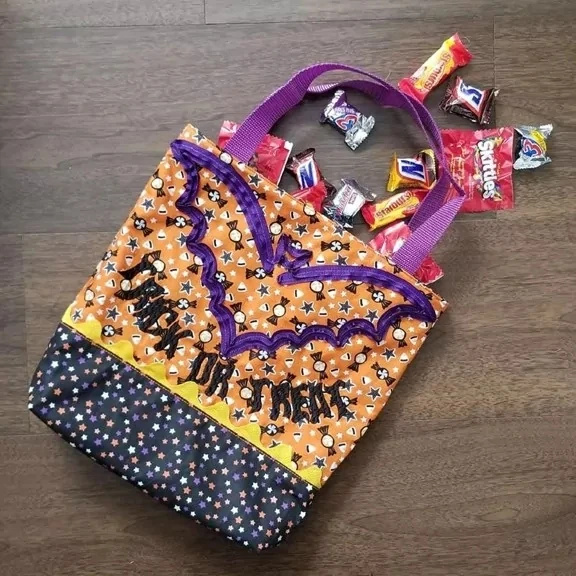
Make a simple, personalized & lined trick or treat bag for the children in your life. This same bag can be recreated for an Easter Egg Hunt or as a great children's travel bag for books, toys & snacks.
Shopping List:
- HUSQVARNA® VIKING® Sewing/Embroidery Machine
- Clear Seam Guide Foot - Part #413034845
- Ribbon Embroidery Attachment - Part # 920562096 (optional)
- mySewnet™ Embroidery Software (embroidery design provided)
- Embroidery Hoop
- Aqua Magic Stabilizer
- Embroidery Thread
- Coordinating Ribbon for Ribbon Embroidery Design
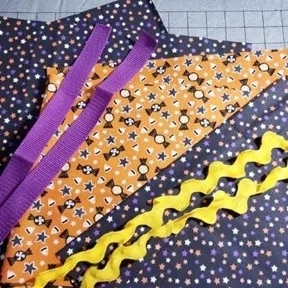
- Main Fabric - ⅓ yd (top of bag)
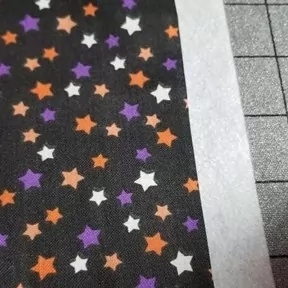
- Coordinating Fabric - ½ yd (bottom of bag & lining)
- 1” Webbing - 1 yd
- Fusible Fleece - ½ yd
- Large Ric Rac - 1 yd
- Coordinating Sewing Thread
- Pin or Clips
- Rotary Cutter & Mat
- Iron & Ironing Board
Download Trick or Treat Bat_v2
Cutting Instructions:
- Main Fabric: x2 - 10”x14” (top of bag) Coordinating Fabric: x2 - 6”x15” (bottom of bag) x2 - 14”x15” (lining)
- Fusible Fleece: x2 - 14”x15"
- Webbing: x2 - 1”x17”
- Ric Rac: x2 - 16”
Sewing Instructions:
- 1. Optional: Embroider a Halloween design to the front & middle of one main fabric piece. We used the ribbon embroidery attachment to add the ribbon embroidery design we selected from the mySewnet™ Library. If you don’t have a ribbon embroidery attachment please use any other fun Halloween designs available in the mySewnet™ Library or within the mySewnet™ Software.
- 2. Fuse fusible fleece pieces to their coordinating fabric lining pieces & set aside.
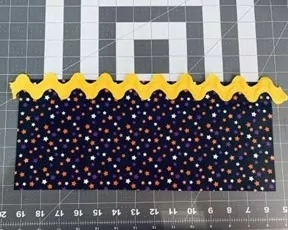
3. Take one piece of ric rac & one of the coordinating bottom pieces. Line up the ric rac along the long edge.
4. Thread your HUSQVARNA® VIKING® Sewing/Embroidery Machine with all purpose sewing thread on both the top and bobbin.
5. Snap on the clear seam guide foot.
6.Baste the ric rac to the bottom piece with a ¼” seam allowance.
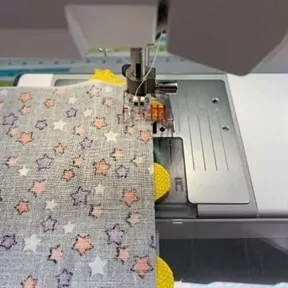
7. Take one of the main fabric top pieces & line up the raw edges along the long side, right sides together.
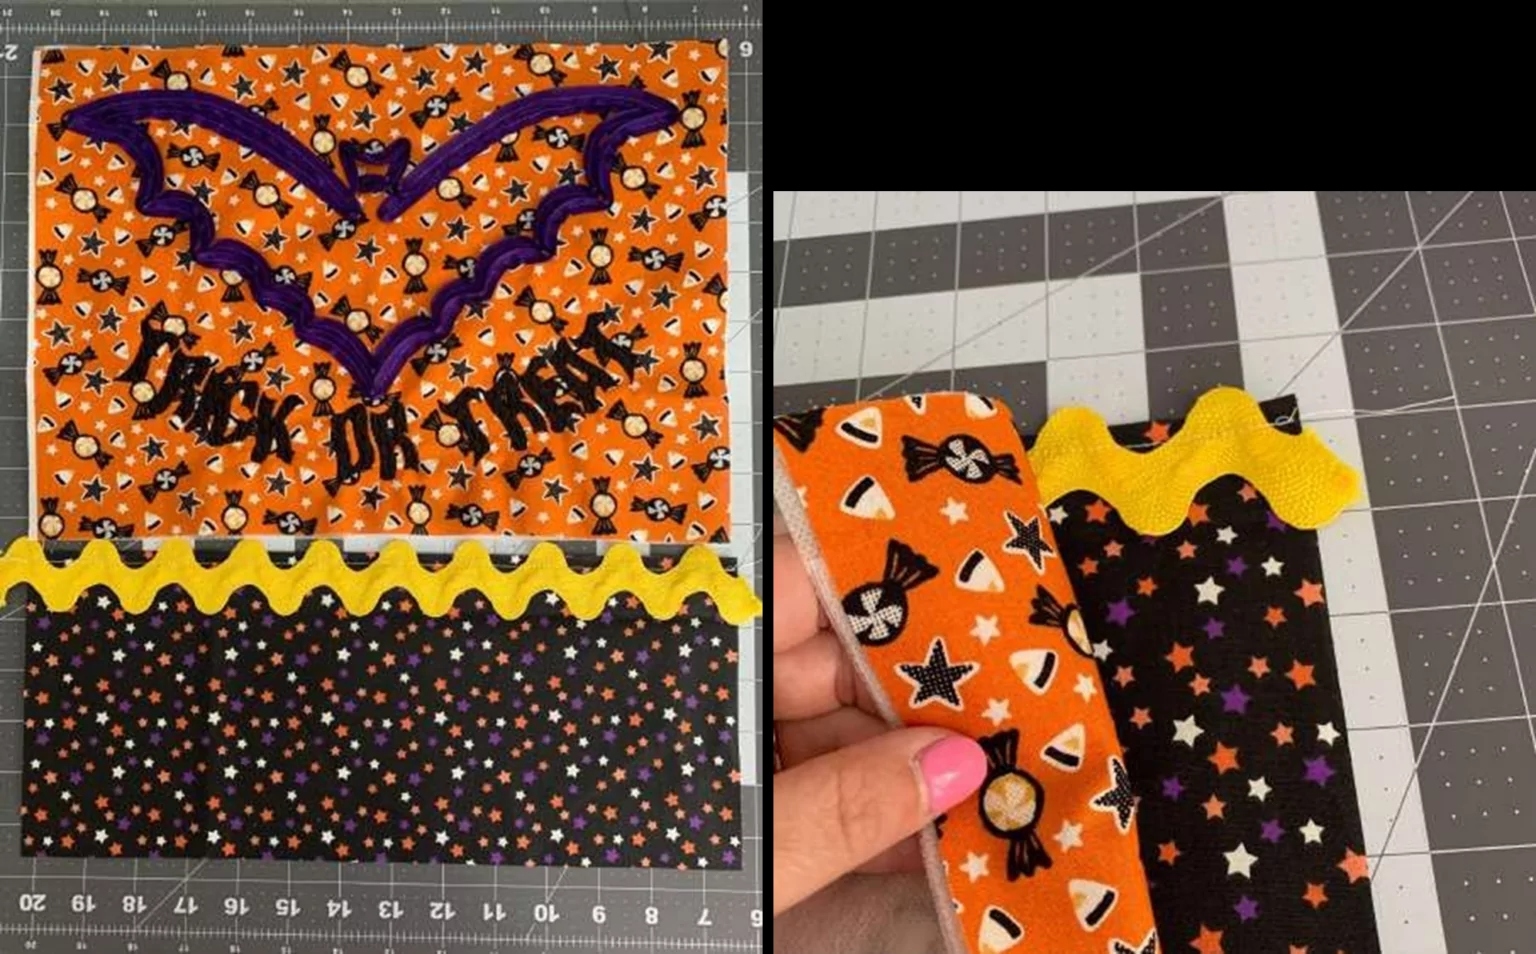
8. Sew together with 2.5mm stitch length at a ½” seam allowance.
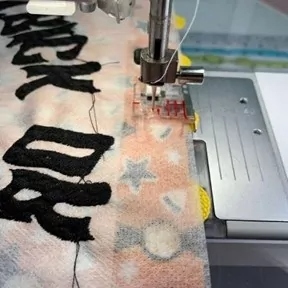
9. Fold open & press the ric rac towards the top of the main fabric.
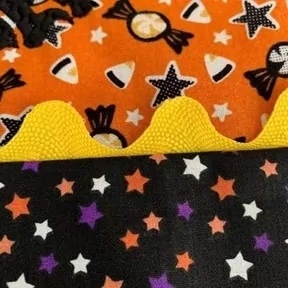
10. Top stitch the ric rac down with a reinforced stitch to the main fabric. Leave the stitch length at the default machine setting.
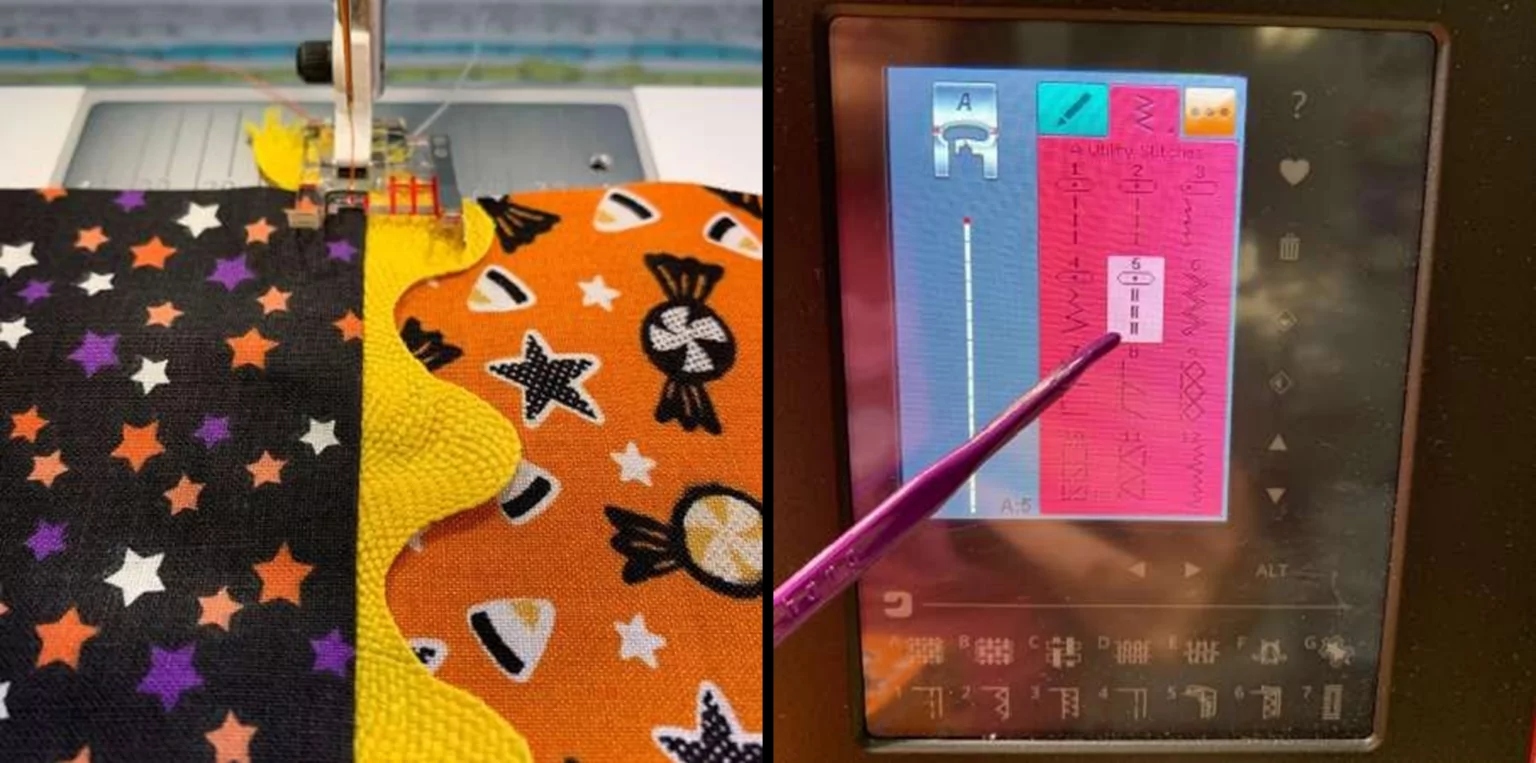
11. Repeat steps 3-8 with the pieces for the other side of the bag.
12. Place the outer bag pieces right sides together & cut a 1 ½” square out from the bottom two corners.
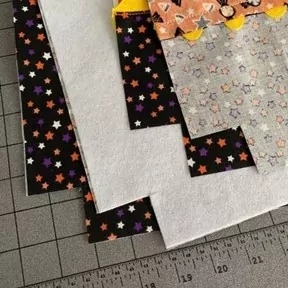
13. Repeat step 10 with the lining bag pieces.
14. Place the outer bag pieces, right sides together.
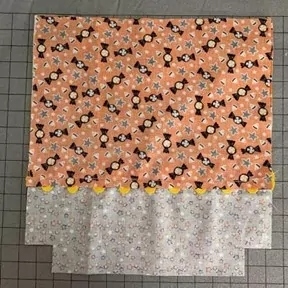
15. Sew regular straight stitch at the machine default length at a ½” seam allowance from the top of the bag to the bottom on both sides & along the bottom edge of the bag from side to side.
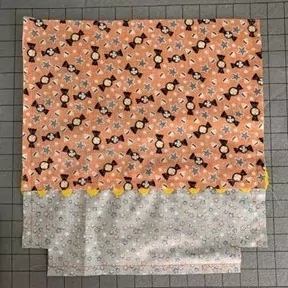
16. Line up the bottom seam & side seam. Pushing the seam allowances in opposite directions & pin or clip in place.
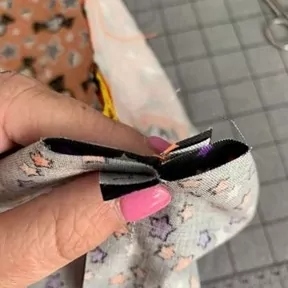
17. Sew the corners together with a ½” seam allowance.
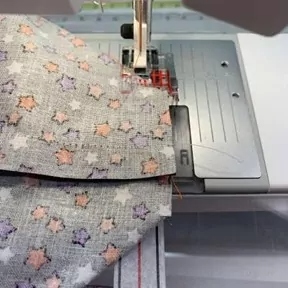
18. Repeat steps 12-15 with the lining pieces EXCEPT leave a 3”-4” opening at the bottom for turning. Back stitch at the beginning & end so that when turning the seams don’t pull open.
19. Turn the outer bag section right side out.
20. Take one of the webbing straps & line up each end along the top edge, 2” from the side seam. Clip or pin in place.
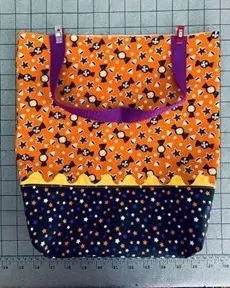
21. Repeat this process with the second webbing strap on the other side of the outer bag section.
22. Baste each end to the bag to hold in place.
23. Place the outer section into the lining section with right sides together
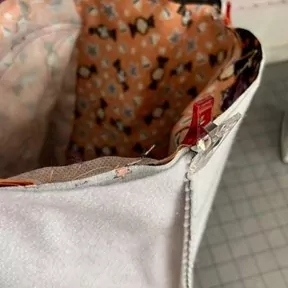
24. Line up the top raw edges together & clip or pin the side seams together. Continue placing clips or pins all the way around the edges.
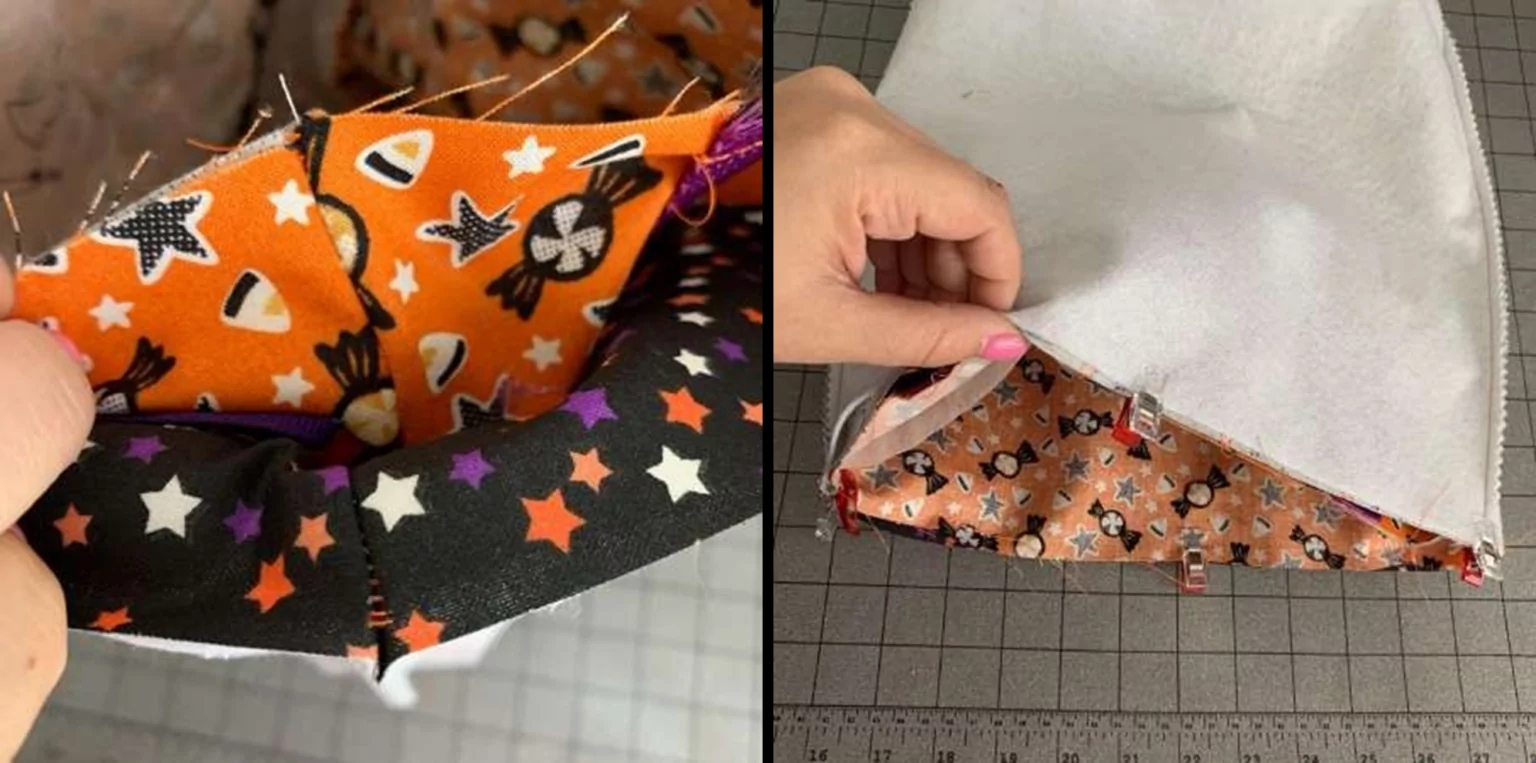
25. Sew the top raw edge together with a ½” seam allowance.
Pro-Tip: Remove the accessory tray & place the opening of the bag over the free arm for an easier time sewing the edges together.
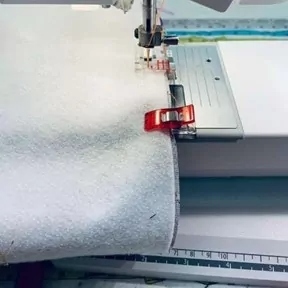
26. Turn the bag right side out through the 3”-4” opening at the bottom of the lining.
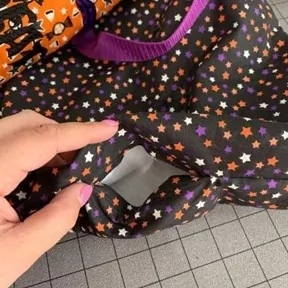
27. Fold the raw edges of the hole opening inward & press evenly.
28. Sew close to the opening edge to close.
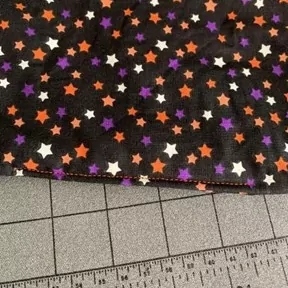
29. Push the lining section into the main outer section. Also make sure to push the corners into each other.
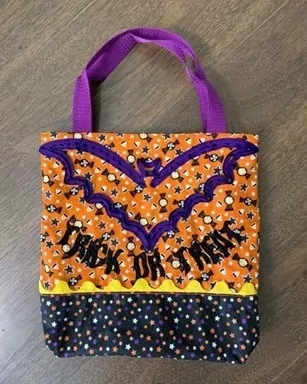
Don’t forget to share your projects with us on Instagram, tagging @husqvarnvikingsewingaus and using the hashtags #husqvarnavikingaustralia # husqvarnavikingsewing #keepingtheworldsewing or our Facebook page Husqvarna Viking Australia.
Follow on Social Media :
Facebook | Instagram | Pinterest | Youtube | Tiktok | X/Twitter