
Machine Compatibility
Orchidea, 1250, #1+, 1200, 1100, 1090, 1070, 1070s, 1050
990s, 990, 980, 960, 950s, 950, 945, 940
630, 620, 610, 190, 185, 180, 150, 120.
105, 100, 95, 90.
Prelude 360, 340, Daisy 335, 330, 325, 320, 315, 310, HV 250, 230, 225, 215, 210, 205,Scandinavia 100, Eden Rose 250M, Tribute 140M, Emerald 122, 118, 116
Rose 605, 600, Iris, Lily 555, 550, 545, 540, 535, 530, HV 500, Interlude 445, 435, Freesia 425, 415, HV 400, 350, Scandinavia 400, 300, 200, Emerald 183, 203, Designer Jade 35, Jade 20, Opal 650, 670
Designer Diamond Royale, Designer Diamond Deluxe, Designer Diamond, Designer Sapphire 85, Designer Ruby Royale, Designer Ruby Deluxe, Designer Ruby, Designer Topaz 65, 55Q, 50, 40, 30, 25, 20, Designer SE, SE LE, Designer 1, 11, Quilt Designer 1, 11 Sapphire 965Q, 960Q, 930, 875Q, 855, 850, 835, 830, Designer Brilliance 80, 75Q, Opal 690Q, Tribute 140C
Designer Epic, Epic 980Q, Designer Ruby 90
Designer Epic 3, Designer Epic 2, Epic 95Q, Epic Quilt 9
Button Foot with Placement Tool
Description
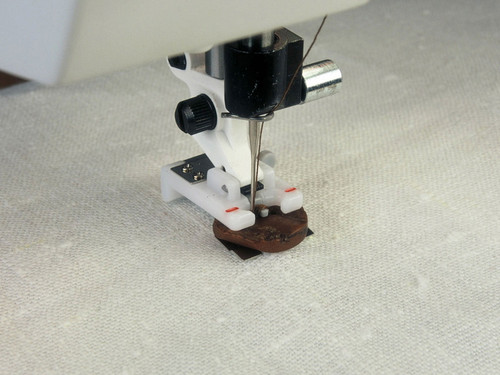
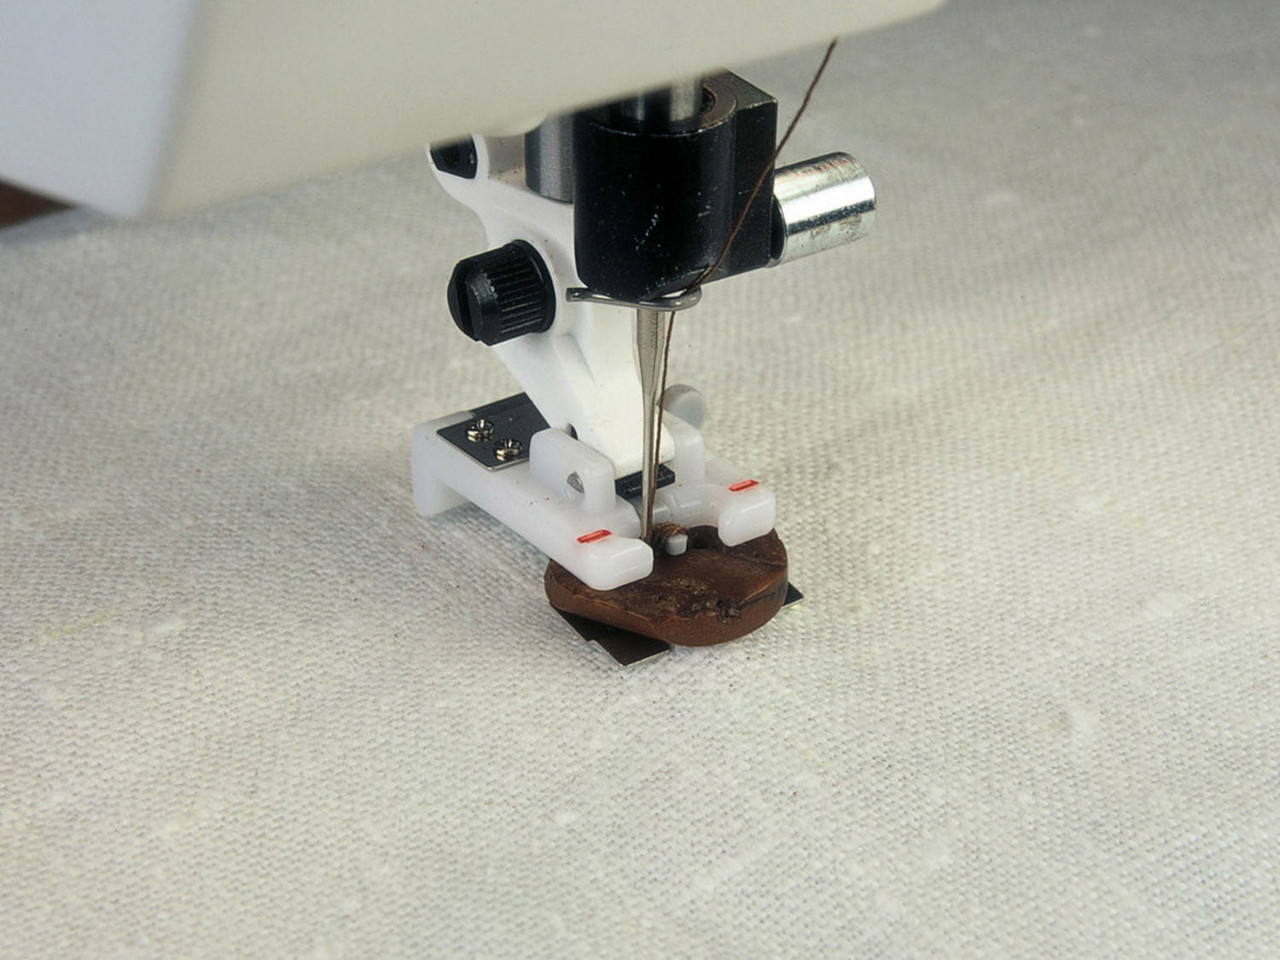
Raises the button slightly off the fabric to give a slight thread shank to enable easy buttoning, and to prevent the button from being sewn too tightly on fabric.
$63.00
Description
Description
Not suitable for: Emerald series, Eden Rose 250M, Tribute 140M and 145M.
Not sure which group your machine belongs to? Check out the Machine Compatibility Chart
This presser foot for sewing on buttons raises the button slightly off the fabric to give a slight thread shank to enable easy buttoning, and to prevent the button from being sewn too tightly on fabric.
How to use:
How to use:
Engage the presser foot extra lift available on your machine to make attaching the presser foot easier.
- Thread with matching sewing thread on top and in the bobbin. Snap-on the Button Foot.
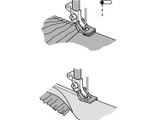
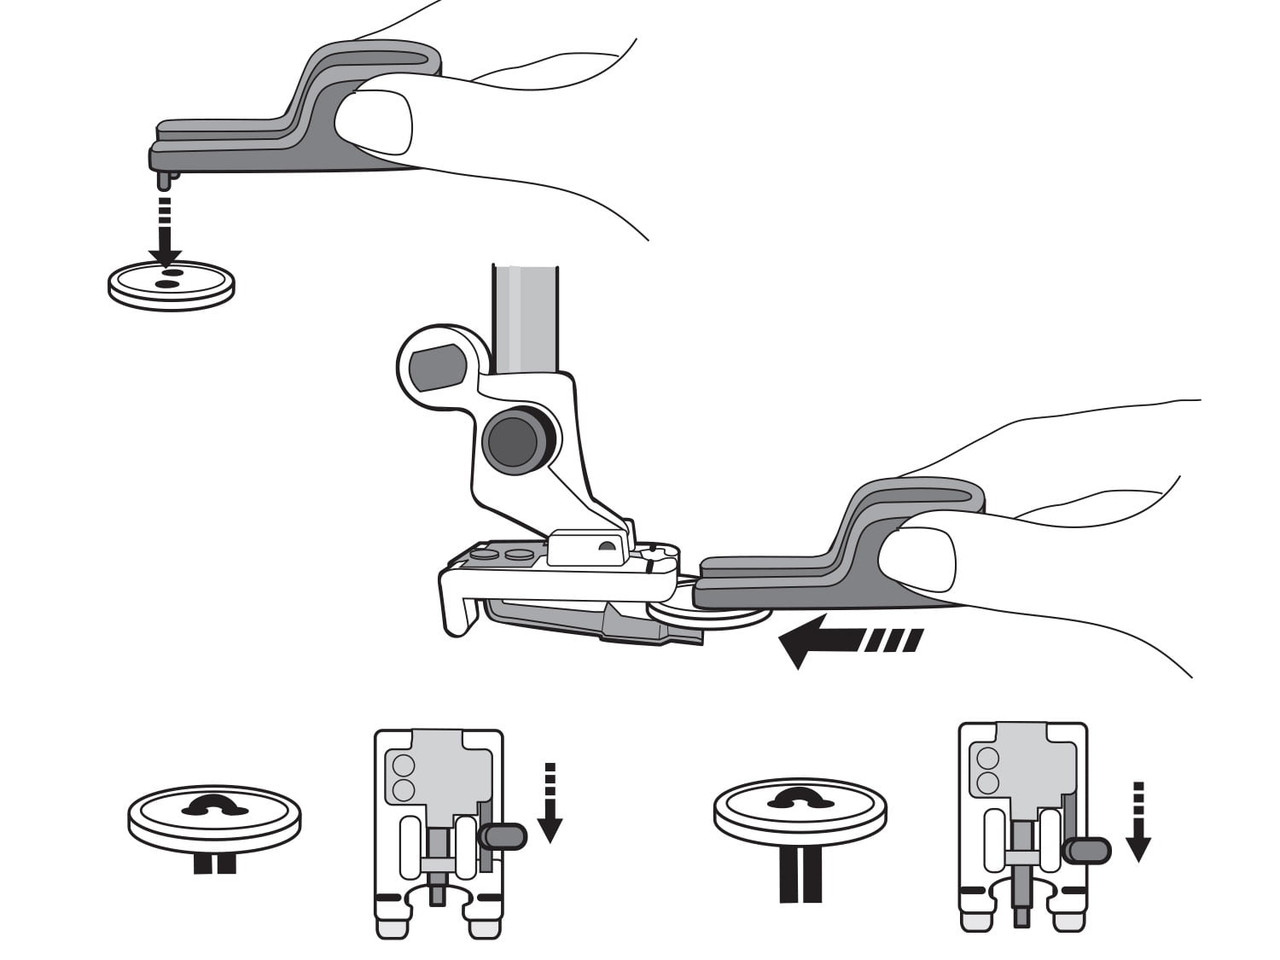
- Slide the Retractable Thread Shank Guide into the desired position. All the way back will give you no thread shank. The first position will give you a shorter shank for lightweight fabrics. The second position (all the way forward) will give you a longer thread shank for heavier fabrics.
- For a button smaller than 1/4” (6 mm), use the Placement Tool. Insert the Button Placement Tool into the holes of the button. Note: Avoid using a button higher than ⅛" (3 mm).
- Insert the Button Placement Tool with the button in place into the slot in the foot. The button will automatically be placed in the correct position for sewing.
- Remove the Button Placement Tool.
- Select “Button Sewing” on your SEWING ADVISOR™ feature. Adjust the Stitch Width if necessary according to the width between the holes in the button.
- Sew on your button following the instructions in your User’s Guide.
Additional information
Additional information
| Weight | 0.100 kg |
|---|---|
| Brand | Husqvarna Viking |
Related Products