Machine Compatibility
Orchidea, 1250, #1+, 1200, 1100, 1090, 1070, 1070s, 1050
990s, 990, 980, 960, 950s, 950, 945, 940
630, 620, 610, 190, 185, 180, 150, 120.
105, 100, 95, 90.
Prelude 360, 340, Daisy 335, 330, 325, 320, 315, 310, HV 250, 230, 225, 215, 210, 205,Scandinavia 100, Eden Rose 250M, Tribute 140M, Emerald 122, 118, 116
Rose 605, 600, Iris, Lily 555, 550, 545, 540, 535, 530, HV 500, Interlude 445, 435, Freesia 425, 415, HV 400, 350, Scandinavia 400, 300, 200, Emerald 183, 203, Designer Jade 35, Jade 20, Opal 650, 670
Designer Diamond Royale, Designer Diamond Deluxe, Designer Diamond, Designer Sapphire 85, Designer Ruby Royale, Designer Ruby Deluxe, Designer Ruby, Designer Topaz 65, 55Q, 50, 40, 30, 25, 20, Designer SE, SE LE, Designer 1, 11, Quilt Designer 1, 11 Sapphire 965Q, 960Q, 930, 875Q, 855, 850, 835, 830, Designer Brilliance 80, 75Q, Opal 690Q, Tribute 140C
Designer Epic, Epic 980Q, Designer Ruby 90
Designer Epic 3, Designer Epic 2, Epic 95Q, Epic Quilt 9
Machine Compatibility
Designer Epic 3, Designer Epic 2, Epic 95Q, Epic Quilt 9
Adjustable Quarter Inch Foot With Guide
Description
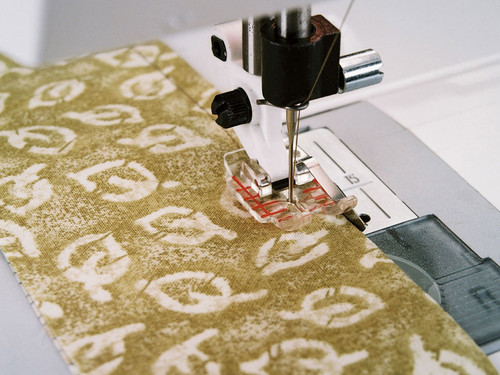
The Adjustable Quarter Inch Foot with Guide is designed to help you achieve a straight 1/4" (6mm) or a scant 1/4" (less than 6mm) seam.
$55.00
Description
Description
Piecing: The Adjustable Quarter Inch Foot with Guide is designed to help you achieve a straight 1/4" (6mm) or a scant 1/4" (less than 6mm) seam when piecing.
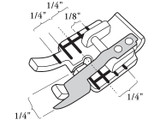
The needle hole in the foot is oval-shaped allowing you to adjust the needle position. The distance between the centre needle position and the guide is ¼” (6mm)
How to use:
How to use:
- Snap-on the Adjustable ¼” Foot with Guide. *
- Select a straight stitch.
- For a 1/4” (6mm) seam; select a centered the needle position.
- For a scant 1/4” seam; adjust the needle position one or two steps to the right.
- Lace the fabric pieces right sides together under the presser foot, aligning the edges of the
fabric with the guide on the foot. - Sew the fabric pieces together guiding the fabric so that the edges touch the guide.
- Press the seam allowance.
Note: Depending on the weight of your fabric and thread it may be necessary to adjust the needle position to achieve your desired seam allowance. Move the needle to the right to decrease the seam allowance and to the left to increase it. You can safely move the needle three steps in either direction, but not more.
* Do not use the Straight stitch plate when using the Adjustable ¼” Foot with Guide.
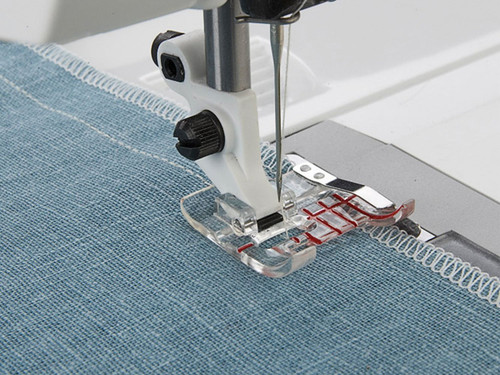
The Adjustable 1/4" Foot with Guide is also wonderful for topstitching. Simply adjust the needle position and use the guide to place your stitching exactly where you want.
Topstitching: The Adjustable ¼” Foot with Guide is also wonderful for topstitching. Adjust the needle position and use the guide to place your stitching exactly where you want it on your blocks, garments or home decor projects.
1. Snap-on the Adjustable ¼” Foot with Guide.
2. Select a straight stitch, triple straight stitch or the mock hand quilting stitch. Adjust the needle position as desired if needed.
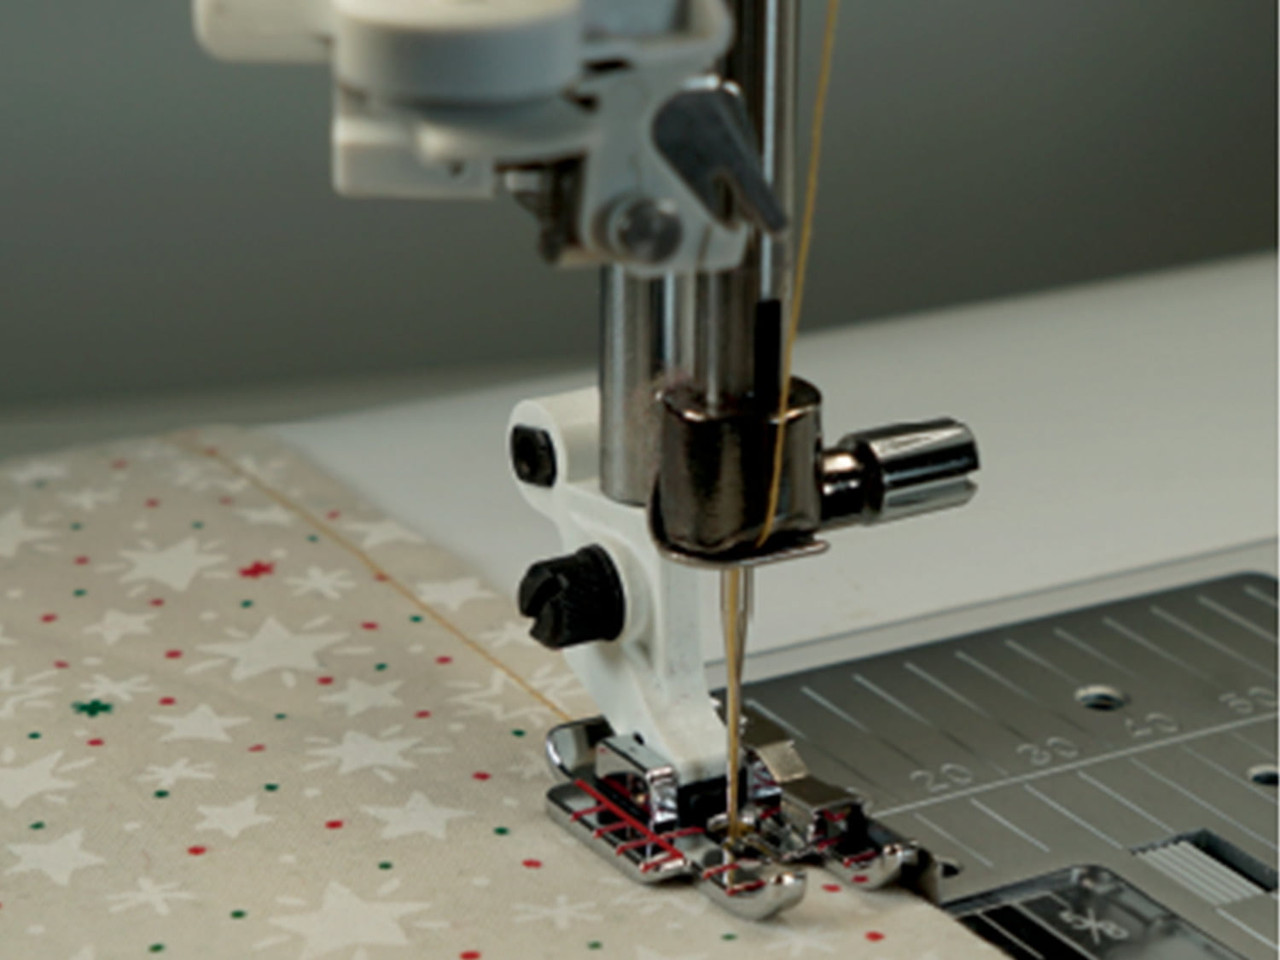
3. Place the project under the presser foot so that the guide on the foot runs in the ditch of the seam or along the edge of the fabric. Sew.
Note: Red markings on the Adjustable ¼” Foot with Guide help you align the fabric when you start sewing, at corners and at the end of your fabric.
Additional information
Additional information
| Weight | 0.100 kg |
|---|---|
| Part number: | H9204560-96, H9205660-96 |
| Brand | Husqvarna Viking |
Related Products