
Machine Compatibility
Orchidea, 1250, #1+, 1200, 1100, 1090, 1070, 1070s, 1050
990s, 990, 980, 960, 950s, 950, 945, 940
630, 620, 610, 190, 185, 180, 150, 120.
105, 100, 95, 90.
Prelude 360, 340, Daisy 335, 330, 325, 320, 315, 310, HV 250, 230, 225, 215, 210, 205,Scandinavia 100, Eden Rose 250M, Tribute 140M, Emerald 122, 118, 116
Rose 605, 600, Iris, Lily 555, 550, 545, 540, 535, 530, HV 500, Interlude 445, 435, Freesia 425, 415, HV 400, 350, Scandinavia 400, 300, 200, Emerald 183, 203, Designer Jade 35, Jade 20, Opal 650, 670
Designer Diamond Royale, Designer Diamond Deluxe, Designer Diamond, Designer Sapphire 85, Designer Ruby Royale, Designer Ruby Deluxe, Designer Ruby, Designer Topaz 65, 55Q, 50, 40, 30, 25, 20, Designer SE, SE LE, Designer 1, 11, Quilt Designer 1, 11 Sapphire 965Q, 960Q, 930, 875Q, 855, 850, 835, 830, Designer Brilliance 80, 75Q, Opal 690Q, Tribute 140C
Designer Epic, Epic 980Q, Designer Ruby 90
Designer Epic 3, Designer Epic 2, Epic 95Q, Epic Quilt 9
Clear Piping Foot
Description
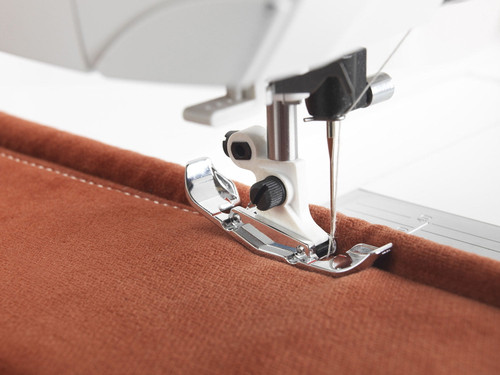
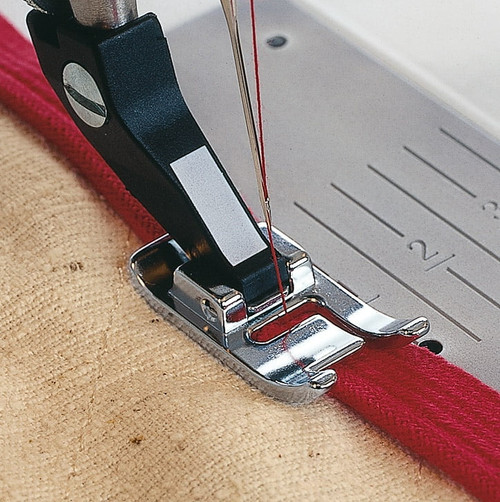
The Clear Piping Foot allows you to insert packaged piping into seams and edges for a tailored finish.
$55.00
Description
Description
Insert packaged piping into seams and edges for a tailored finish. Cover cord with fabric for specialty piping.
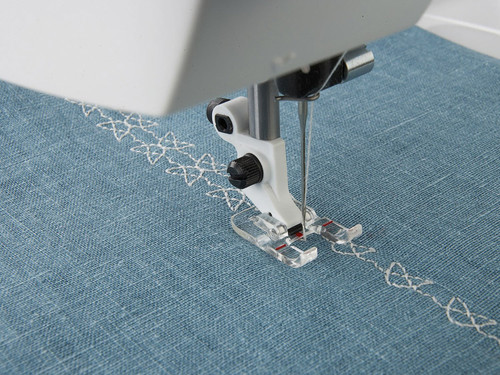
The clear view allows you to see the piping placement and see exactly where you are stitching. The clear view enables you to see the first row of stitching and adjust your needle position to stitch next to the original row. Straight Stitch, length 2.5.
How to use:
How to use:
- To make piping from your fabric: Snap on the Clear Piping Foot.
- Cut bias or crosswise grain strips wide enough to cover the cording plus seam allowances.
- Lay the cording on the wrong side of the fabric strip and wrap the fabric over the cord.
- Place the fabric and cord under the Clear Piping Foot with the cord in the groove on the underside of the foot.
- Sew. The groove will guide the cord so the fabric covers it evenly. Hint: When you sew this piping into a garment, adjust the needle position so it stitches one setting closer to the cord, to cover the first stitching.
To stitch piping into a seam:
To stitch piping into a seam:
- Snap-on the Clear Piping Foot.
- Place the piping along the seam line on the right side of the fabric and stitch in place with piping in the groove of the foot.
- Place the second piece of fabric on top with the right sides together.
- Put fabric and piping layers under the piping foot with the piping in the groove on the underside of the foot. Sew. The groove on the underside of the foot will guide
the piping as you sew. (Hint: Notch the seam allowance of the piping on curves and corners.)
Additional information :
Additional information :
| Weight | 0.100 kg |
|---|---|
| Brand | Husqvarna Viking |
Related Products